
Privacy Notice
This video is hosted on YouTube. Loading it requires allowing functional cookies.
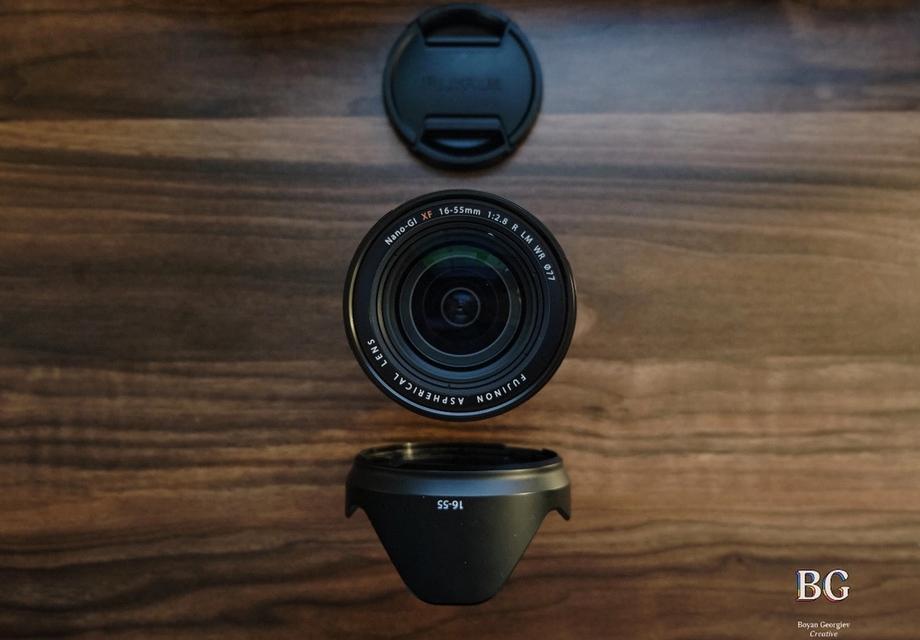
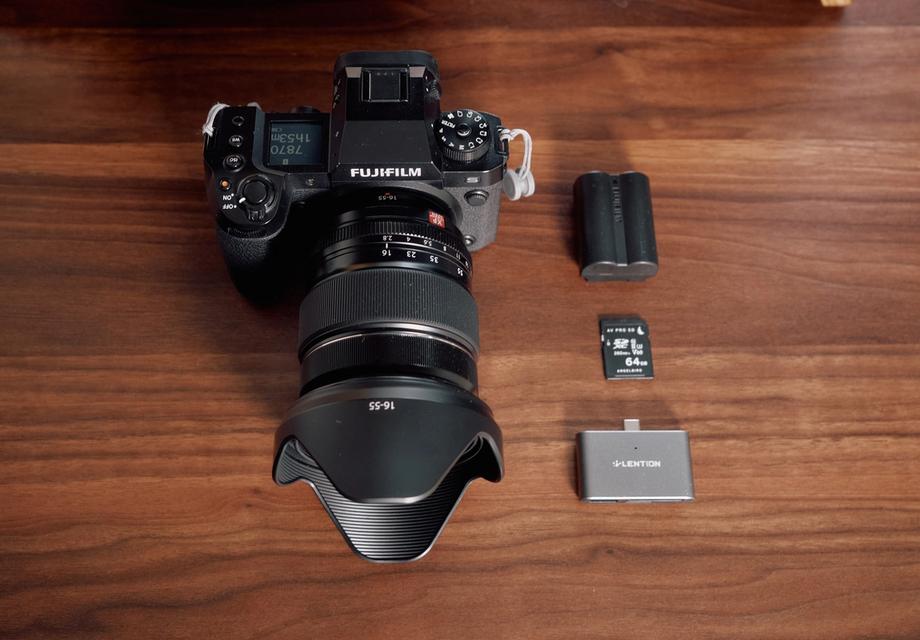
In this video I am sharing my approach on shooting a short film that I did with my friend, which I uploaded to YouTube. I will go through how I set up my camera, the Fujifilm X-H2S, and how I color grade using a new plugin called Dehancer. I will also give away a 10% discount on the Dehancer plugin using the code BOBBYG at checkout. I will go through the settings on my Fujifilm X-H2S camera, including the resolution and aspect ratio, and how I shoot at 25p using H.265 ALL-intra encoding at 4:2:2 color sampling, and using the highest bit depth, 720 megabits per second. I also use the Flog View Assist setting to visualize the footage better when shooting Flog.
10% OFF Dehancer Use code: BOBBYG
Use discount: https://www.dehancer.com/shop/video/davinci_resolve
You can choose from a variety of cameras as your Input Source including the newest F-Log2 from the Fujifilm X-H2S
Dehancer is a tool used for color grading footage. To start, you can choose a source by selecting the camera used to shoot the footage and the type of log used. If you don't know the source, you can start with rec709. Dehancer supports a wide range of cameras, including iPhones and professional cinema cameras. I used a Fujifilm camera and chose Flog2 as the format. I made global adjustments to the footage, as it was overexposed to reduce noise. The tool includes options for temperature compensation and tint correction. I also set up my node trees in Resolve to group shots and apply adjustments to specific groups. I recommend adding Dehancer to the end of the pipeline and applying it on top of the clip adjustments. This allows for a comparison of the final result with the standard LUTs provided by Fujifilm.
I chose Cinestill 800T as my Film Profile for this short film
The most important feature of Dehancer is the film profile. It has a variety of options, including film negatives and still picture films. I played around with different options and ended up using Cinestill800T, which is balanced for tungsten light. I also used the push and pull effect and film compression. I didn't use expand but it raises the black points and lowers the white points. I also review scopes, which are helpful in adjusting to the look of the footage.
There are three Film Prints to choose from including the famous Kodak 2383 Print Film
I am discussing the use of film grain in Dehancer, a tool for color grading footage. Film grain is inherent to film stocks and is created by the size of the film. It can be used to create a natural or a more dramatic effect. I also mention two other features in Dehancer, halation and bloom, which are defects that happen in film. Halation is the red edge around bright objects and bloom is the way light spills over dark objects. I also recommend ShotDeck , a website that serves as a search engine for films, which can be useful for identifying and learning about different film stocks, lighting, and other elements used in popular films.
Another great feature is that you can export your final Dehancer look as LUT file that can be used in the future for monitoring purpose on cameras that enable that or a onset monitor so you can view your footage closer to a final look when grading.
You can export your final Dehancer look as a LUT file to use on a camera monitor for future reference
All in all I find Dehancer to be a great professional tool for color grading, with it's myriad of film profiles to choose from and many tools to finesse your look its a packed plugin for either a quick grade if you’re in a hurry but also has all the necessary features to nail your grade and put your personal stamp on the project you’re working on.
Thanks for reading and watching the video. I hope you find this information useful and please comment if you have any questions or something is unclear. This is my first time of sharing my workflow and process and I’m excited to share more in the future.

Privacy Notice
This video is hosted on YouTube. Loading it requires allowing functional cookies.